
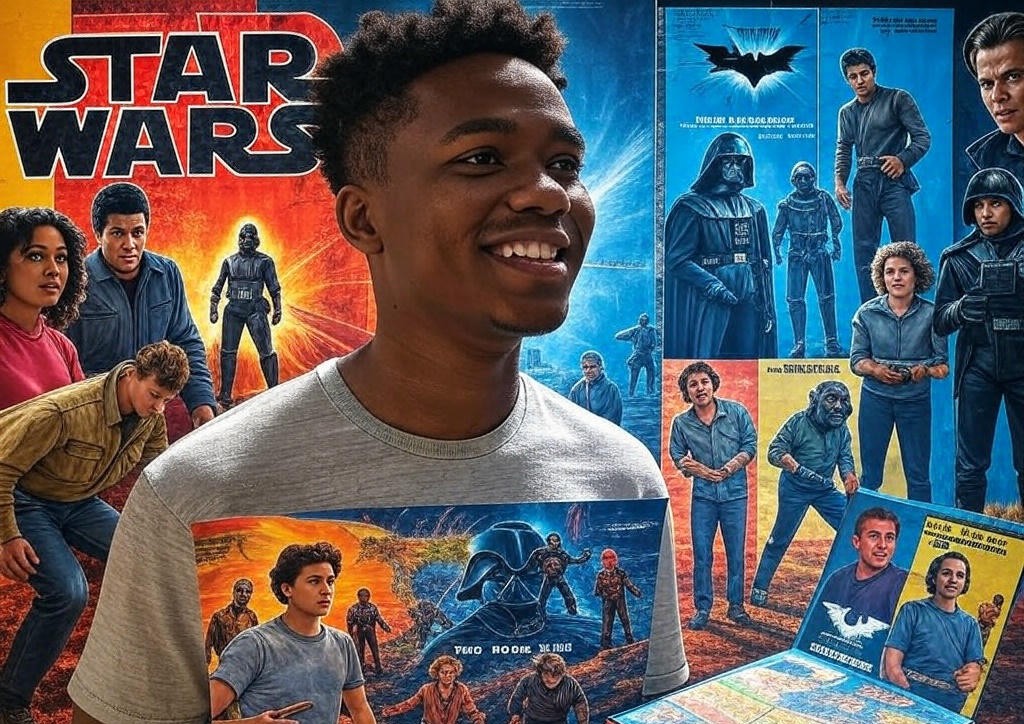
Ever stared at a movie poster and thought, “Man, I’d love to make something that cool”? Good news—you totally can! Adobe Illustrator is your secret weapon for whipping up jaw-dropping movie posters, even if you’re just starting out. I’ve messed around with it enough to know it’s not as scary as it looks. In this guide, I’ll walk you through the steps to create a poster that’d make Hollywood jealous—no design degree required. Let’s dive in!
Step 1: Set Up Your Canvas Like a Pro
First things first—open Adobe Illustrator and start a new project. Go to File > New, and set your artboard to a standard poster size—say, 24×36 inches (or 612×792 pixels at 300 DPI if you’re printing). Name it something cool like “Epic Movie Poster” so you feel like a boss. Pick RGB for digital or CMYK for print, depending on where it’s headed. Hit OK, and boom—you’ve got a blank slate staring back at you. (Pro tip: If you’re hosting your designs online, check out for seamless cloud setup.)
Step 2: Sketch Your Big Idea
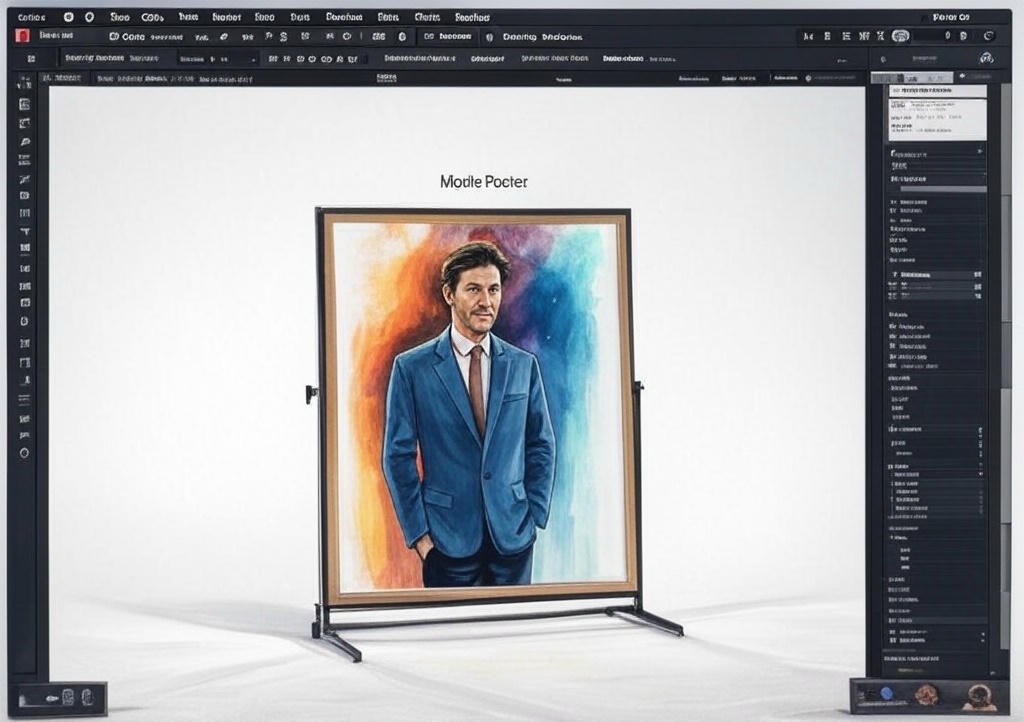
Now, let’s get that poster vibe going. Grab the Pen Tool (P) from the toolbar—it’s your best buddy for drawing shapes. Don’t worry if your lines are wobbly at first; mine were too! Sketch out your main element—maybe a spaceship for a sci-fi flick or a shadowy figure for a thriller. Keep it simple: think bold outlines and big vibes. Use the Direct Selection Tool (A) to tweak those curves until they’re just right. This is your poster’s backbone, so have fun with it!
Step 3: Splash on Colors and Effects
Time to make it pop! Select your shape, head to the Swatches panel, and pick some killer colors—deep blues for drama, fiery reds for action. Want that pro look? Add a Gradient (Window > Gradient) to give it depth—drag the slider to blend two shades, like black fading to crimson. For extra oomph, throw in a Drop Shadow (Effect > Stylize > Drop Shadow)—play with the settings till it feels cinematic. Trust me, this is where it starts looking legit.
Step 4: Nail the Typography
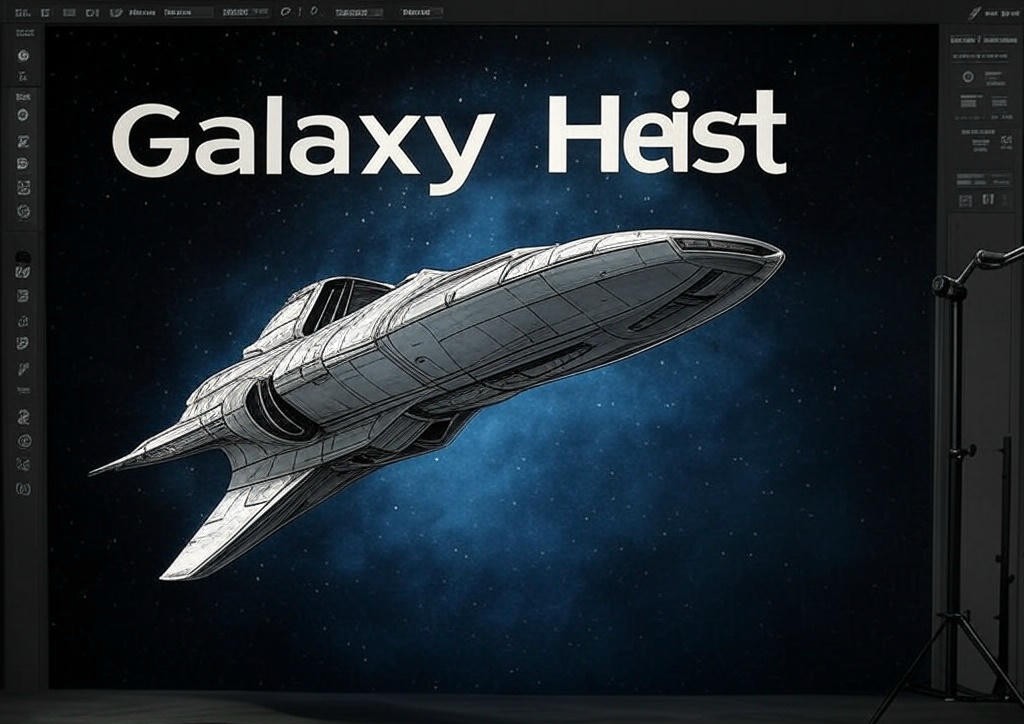
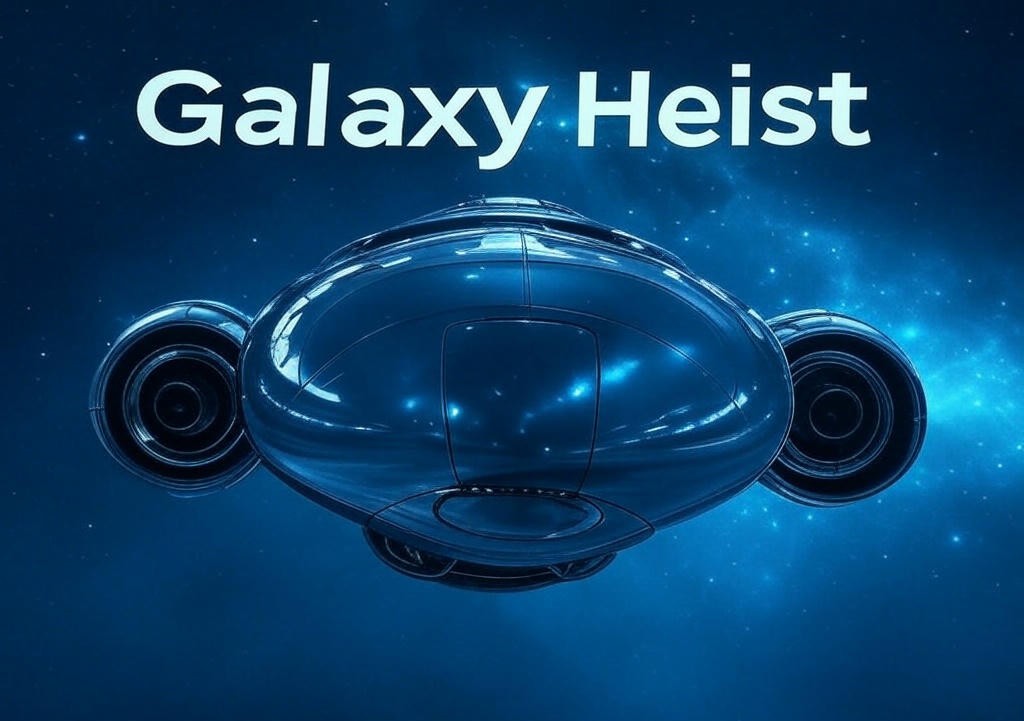
No movie poster’s complete without epic text. Hit the Type Tool (T), click your canvas, and type your movie title—something like “Galaxy Heist” or “Shadow Hunt.” Pick a bold font—think Impact or Bebas Neue (free on Google Fonts)—and size it up to 100-150 pt. Stretch it across the top or bottom, then tweak the color to stand out (white with a black stroke works like a charm). Add a tagline below in a smaller font—like “One Last Score”—and bam, it’s screaming blockbuster.
Step 5: Polish and Export Your Masterpiece
You’re almost there! Zoom out (Ctrl/Cmd + 0) and check your layers—use the Layers Panel (Window > Layers) to make sure everything’s stacked right (background at the bottom, text on top). Tweak anything that feels off—maybe nudge the title or brighten a color. Happy with it? Go to File > Export > Export As, pick PNG or JPEG for digital (300 DPI for print), and save it. Congrats—you’ve just made a poster that’d turn heads!
Wrapping It Up
See? Adobe Illustrator isn’t some monster—it’s your playground for movie poster magic. Start with a blank canvas, sketch your heart out, splash some color, nail the text, and polish it up. Next thing you know, you’re designing posters that could hype up any flick. So grab your mouse, fire up Illustrator, and let’s see what you’ve got—I bet it’ll be stunning!